- You have no items in your shopping cart
- Subtotal: ₹0.00
|
Getting your Trinity Audio player ready...
|
Do you know the mic YouTubers use can help their channel grow? Peter McKinnon started with 800 subscribers and earned only 55 cents from AdSense, but he stayed consistent, and today he has over 5.8 million followers.
What’s one of his secrets? Exceptional audio quality. While many creators focus primarily on camera equipment, poor audio can instantly distract viewers from otherwise great content. Finding the right mics for YouTube videos doesn’t need to be complicated.
The Rode NT-USB offers studio-quality recording for those creators who are looking for super quality, while professionals like McKinnon often prefer the Shure SM7B for its smooth and wide-range frequency response.
In this guide, we’ll walk through exactly what mic youtubers use to achieve crystal clear audio.
Whether you’re considering a wireless mic that youtubers recommend, a clip-on mic that youtubers prefer for mobility, or a small mic youtubers choose for travel setups, we’ve got you covered. Let’s upgrade your sound and grow your channel!
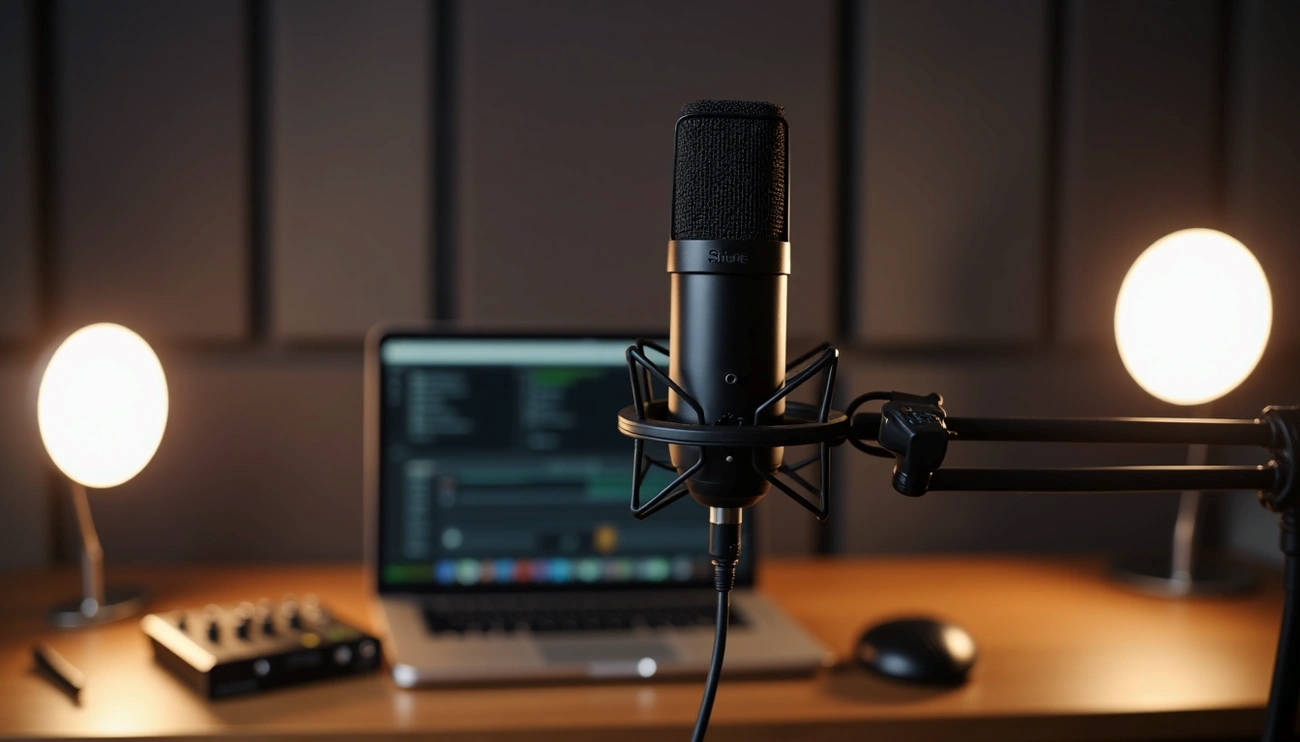
Choosing the Right Mic for Your YouTube Setup
The problem is that the mics built into our cameras and phones are not enough. So the key to good audio quality is to buy an external mic and have it as close to your mouth as possible.
1) Lavalier Microphones: These small clip-on mics are perfect for portability and separate recording. They combine small size with great sound quality. Popular models include the Rode Wireless GO II, DJI Mic, and Rode SmartLav+. The main advantage? Once clipped on, you don’t need complex resets when changing locations. However, they can pick up fabric noise if brushed against clothing.
2) Shotgun Microphones: These directional mics focus on sound directly in front while rejecting noise from the sides. They’re especially valuable for documentary-style content and travel vlogs. The Rode VideoMic NTG and Deity V-Mic D3 Pro are excellent options. Ideally, place shotgun mics 6 to 18 inches above the speaker’s mouth for optimal clarity.
3) XLR Dynamic Microphones: If you’re serious about audio quality, consider professional-grade options like the Shure SM7B, Electro-Voice RE20, or Rode PodMic. These provide richer sound and better background noise rejection. Keep in mind that they require an audio interface or mixer to connect to your computer.
4) USB Condenser Microphones: For creators seeking simplicity alongside quality, USB mics like the Shure MV7 or Rode NT-USB offer an excellent balance. These plug directly into your computer without additional equipment.
When selecting the mic that YouTubers use, consider:
- Your content type (vlogging, interviews, studio recording)
- Recording environment (controlled studio vs. outdoor settings)
- Budget constraints
- Mobility requirements
For beginners on a budget, the BOYA BY-M1 lavalier mic offers good quality under INR 1700. Alternatively, if you’re creating studio-based content, the Audio-Technica AT2020 provides excellent sound without picking up background noise.
Remember, the best mic for YouTube videos depends on your specific needs rather than simply copying what another creator uses.
Setting Up Your Mic Like Peter McKinnon
Setting up your microphone correctly makes all the difference between amateur and professional sounding YouTube videos.
The boom arm stands out as one of the essential components in Peter McKinnon’s audio setup, providing flexibility and stability for consistent sound quality.
Initially, choose a sturdy desk clamp for your boom arm. The clamp creates a secure foundation, preventing unwanted movement during recording.
Once attached, insert the boom arm’s nub into the clamp hole and tighten it firmly. This simple setup frees your hands and stabilizes your mic for clearer audio recordings.
For optimal positioning, follow these steps:
- Adjust the boom arm height so the microphone sits slightly above mouth level, pointed at a 45-degree downward angle toward your mouth
- Position yourself 6-18 inches from the microphone to capture clear audio without proximity issues
- Use the “hang loose” hand gesture (thumb and pinky extended) as a quick measurement guide for proper distance from the chin to the microphone
Furthermore, clean cable management is crucial for a professional setup. Most quality boom arms include integrated cable management features, typically plastic strips that pop out, allowing you to feed your XLR or USB cable through channels before securing them.
Speaking across rather than directly into the microphone reduces explosive sounds (those popping “p” and “b” sounds). Additionally, placing your microphone “off-axis” helps eliminate these issues without requiring a pop filter.
For recording environments with hard surfaces, consider sound treatment to minimize echo. Even simple solutions like blankets, sound panels, or pillows around your recording space can significantly reduce room reflections.
Subsequently, when filming in outdoor locations, add a windscreen or “dead cat” to your microphone. These foam or furry covers effectively eliminate wind noise, which can otherwise ruin otherwise perfect recordings.
Consequently, your final setup should balance accessibility with sound quality, keeping the microphone close enough for clear audio yet positioned strategically to minimize handling noise, plosives, and environmental interference.
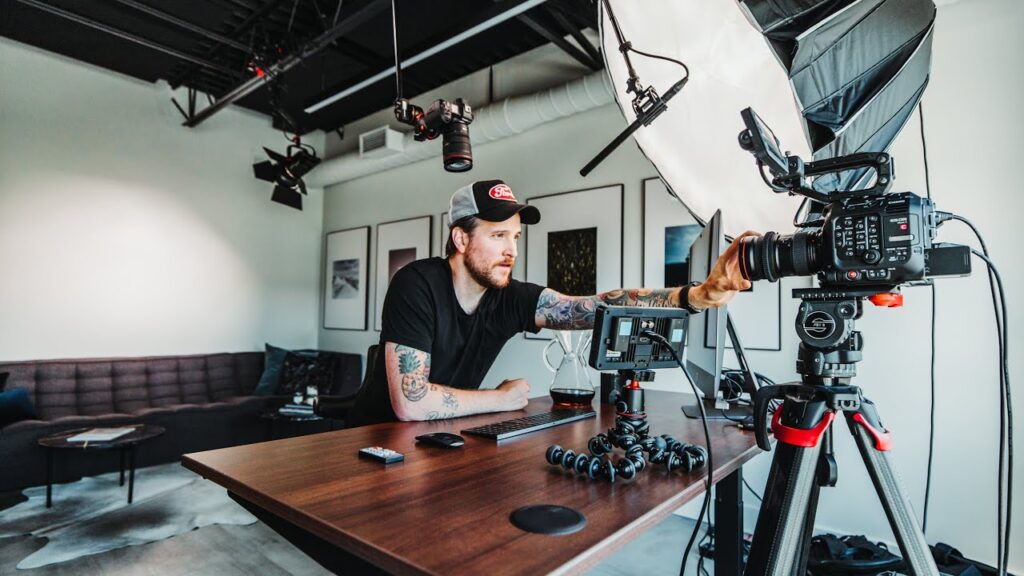
Upgrading Your Audio Workflow
A $100 mic will sound better 10cm from your mouth than a $5000 mic 100cm from your mouth.
For starters, consider investing in an external audio recorder like the Zoom H6. This versatile device allows you to record multiple audio tracks simultaneously, giving you more control during editing.
Moreover, external recorders provide significantly cleaner audio than camera-mounted microphones, which this especially important for professional events.
When recording, it’s wise to set your levels slightly lower rather than higher. As one audio professional notes, “I like to jack my levels down quite a bit so that when I bring it into Final Cut, I have flexibility in bringing my levels up without peaking.”
For budget-conscious creators, you don’t always need expensive equipment. A simple setup using a smartphone with an app like Rec Forge 2 and a quality microphone can produce results that most viewers won’t distinguish from higher-end setups.
Post-production essentials include:
- Noise reduction: Remove background noise and hiss with tools like AI Audio Denoiser
- EQ adjustments: Use a simple equalizer to notch out unwanted frequencies
- Compression: Apply subtle compression to even out volume levels
- Sound effects: Add them sparingly to enhance, not overwhelm, your content
The YouTube Audio Library offers copyright-safe music and sound effects you can easily incorporate into your videos. Simply sign in to YouTube Studio, select Audio Library from the left menu, and browse thousands of free options.
Finally, if you’re recording audio separately from video, syncing becomes crucial. Professional editors recommend recording audio on both your camera and external mic, then matching up the audio waveforms in your editing software.
For multiple audio sources, software like PluralEyes can automatically sync everything with a few clicks.
Remember that Peter McKinnon’s professional sound comes not just from quality mics but from meticulous post-production attention to detail.
Expert Editorial Comment
Achieving professional YouTube audio quality like Peter McKinnon requires both the right equipment and proper technique. Throughout this guide, we’ve explored various microphone options suited for different content creation styles and budgets.
Certainly, the physical setup matters significantly correct boom arm positioning, strategic microphone placement, and clean cable management all contribute to clearer recordings.
Nevertheless, even the best equipment demands thoughtful post-production attention. Audio refinement through noise reduction, EQ adjustments, and compression transforms good recordings into exceptional ones.
Although many creators focus primarily on visual elements, your audio quality often determines whether viewers stay engaged or click away.
Before investing in expensive gear, remember that proper microphone placement often outweighs the importance of price point.
A moderately priced microphone positioned correctly will sound better than premium equipment used improperly. Additionally, simple environmental adjustments like sound treatment can dramatically improve your recording quality without significant expense.
Finally, the best setup ultimately depends on your specific content needs rather than blindly copying another creator’s equipment list.
Take time to experiment with different positions and settings until you find what works best for your voice and recording environment.
Your audience will appreciate the professional sound quality, undoubtedly contributing to channel growth similar to what Peter McKinnon has achieved through his attention to audio excellence.
What microphone does Peter McKinnon use for YouTube?
While Peter McKinnon's exact setup may vary, many professional YouTubers like him often use high-quality XLR dynamic microphones such as the Shure SM7B or Electro-Voice RE20 for studio recordings. These mics provide excellent sound quality and background noise rejection.
How can I improve my YouTube audio quality on a budget?
You can significantly improve your audio quality without breaking the bank by using a budget-friendly lavalier mic like the BOYA BY-M1, positioning it close to your mouth, and recording in a quiet environment. Additionally, basic post-production techniques like noise reduction and EQ adjustments can enhance your audio.
What's the best microphone placement for YouTube videos?
For optimal sound quality, position your microphone slightly above mouth level, pointed at a 45-degree downward angle toward your mouth. Aim to be about 6-18 inches away from the mic. This placement helps capture clear audio while minimizing plosives and background noise.
Do I need expensive equipment to achieve professional-sounding YouTube audio?
Not necessarily. While high-end equipment can produce excellent results, proper microphone technique and placement often matter more than price. A moderately priced microphone positioned correctly can outperform expensive gear used improperly. Focus on mic placement, room treatment, and post-production techniques for significant improvements.
How can I reduce background noise in my YouTube videos?
To reduce background noise, start by recording in a quiet environment. Use sound treatment like blankets or sound panels to minimize room reflections. During post-production, apply noise reduction software to clean up any remaining background noise. For outdoor recordings, use a windscreen or "dead cat" cover on your microphone to reduce wind noise.